The Art of Shooting Long Exposure Photography
Have you ever seen those amazing long exposure photographs and wondered how they are made? With the right techniques, you can create stunning photos that capture motion and blur the background in a mesmerizing way. In this tutorial, you will learn everything you need to know to start shooting your own long exposure photos.
We’ll start by covering the basics: what equipment you need, how to set up your shot, and how to adjust your camera settings. Then we’ll move on to more advanced topics like moving objects in your scene and using filters for extra control. By the end of this tutorial, you’ll be able to create beautiful long exposure photos that capture the essence of motion and blur. So let’s get started!
Steps to take breathtaking long-exposure photography shots
As a photographer, one of the things that you’re always striving to do is capture the perfect moment. Whether it’s a once-in-a-lifetime event or just a beautiful scene, you want to be able to look back at your photos and relive that moment.
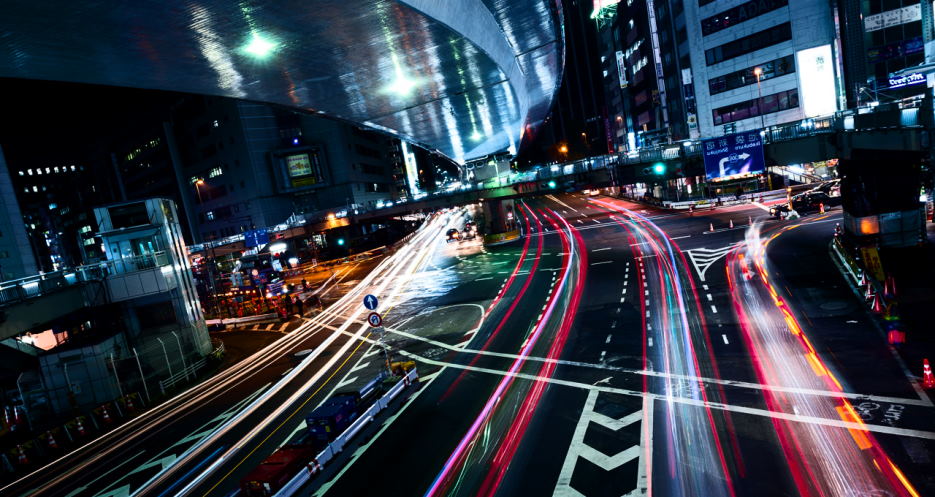
One way to capture the feeling of a moment is to shoot long-exposure photography. This type of photography takes advantage of slow shutter speeds to capture light over an extended period. The results can be stunning, showing off light in a way you can’t see with the naked eye.
If you’re interested in learning how to shoot long-exposure photography, there are a few things you need to know. In this article, we’ll give you some tips on how to get started.
Exposures can create some stunning images. But before you start shooting, there are a few things you need to know.
First, you’ll need to invest in a tripod. When you’re shooting long exposure photography, your shutter speeds will be slow, meaning any camera movement will result in blurriness. A tripod will keep your camera still to avoid this problem.
Second, you’ll need to use a remote shutter release or self-timer. This will help to reduce camera shake further and ensure sharp images.
Third, it’s important to find a subject that isn’t moving too much. This could be anything from a landscape to a building. Once you’ve found your subject, you’ll need to compose your shot and focus on it.
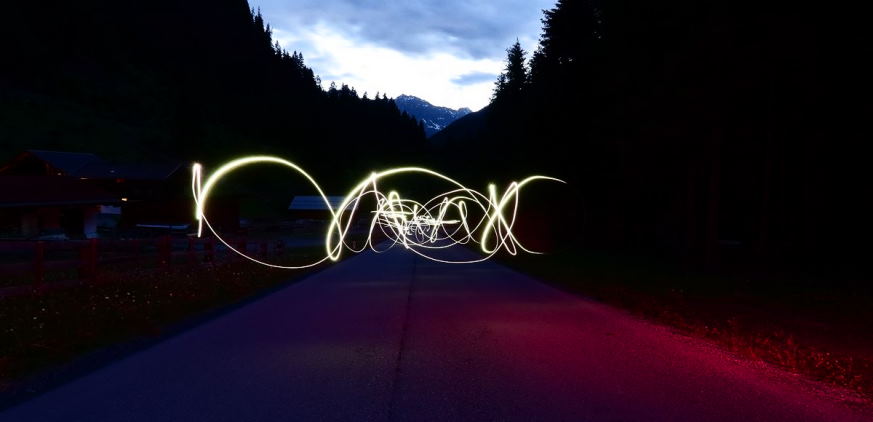
Fourth, you’ll need to select a long shutter speed. This will vary depending on the amount of light available and how much movement you want to capture in your image. Generally speaking, the slower the shutter speed, the more light will be captured and the more blur there will be.
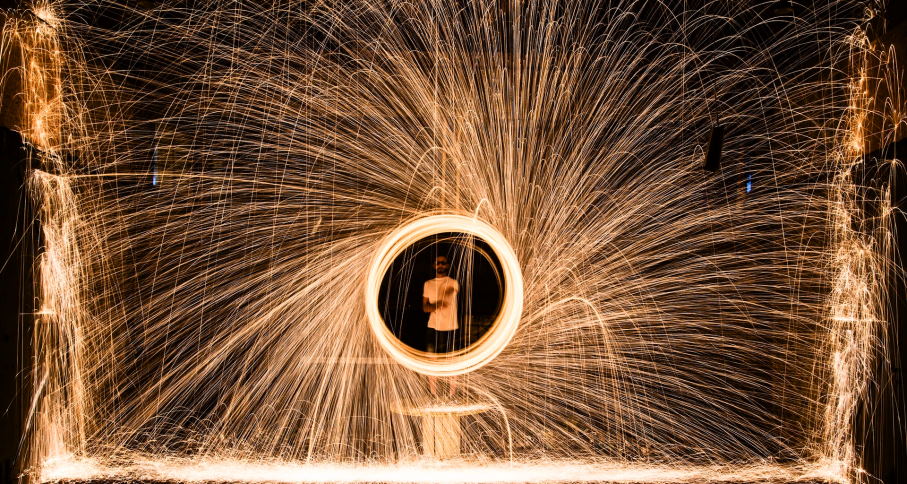
Finally, once you’ve sorted all your settings, it’s time to take the shot! Be patient and wait for the perfect moment – you might need to shoot a few frames before getting the results you’re after.
And that’s it! These are just a few tips to help you get started with long-exposure photography. Remember to experiment and have fun – that’s the best way to learn!
How do you take long exposure shots on your phone?
First, you’ll need to find a stable surface to rest your phone on. A tripod can be helpful for this, but if you don’t have one handy, any flat surface will do.
Next, open up your camera app and set the timer for a longer exposure time. The exact time will depend on the lighting conditions and the effect you’re going for, but start with a few seconds and adjust as needed. Once the timer is set, hit the shutter button and wait for the exposure to finish.
Finally, check your results and make any necessary adjustments before taking another shot. With a little practice, you’ll be able to get some amazing long-exposure shots on your phone.